
Resources · Templates
Rack card
template.
A 3.5 × 8.5 inch rack card, front and back.
The geometry
- Trim size
- 3.5 × 8.5 in — the finished piece
- Bleed
- 0.125 in on every side, so the document is 3.75 × 8.75 in
- Safe area
- 0.25 in inside the trim, leaving 3 × 8 in for text and logos
- Sides
- Front and Back
3.5 × 8.5 in is the standard US rack card — sized to sit in a brochure rack or a countertop holder.
Download
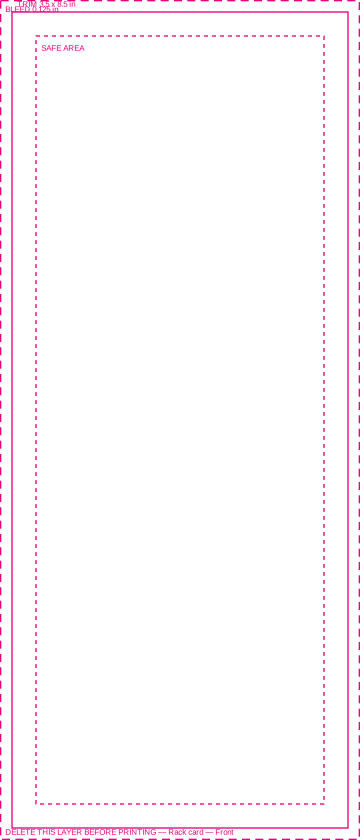
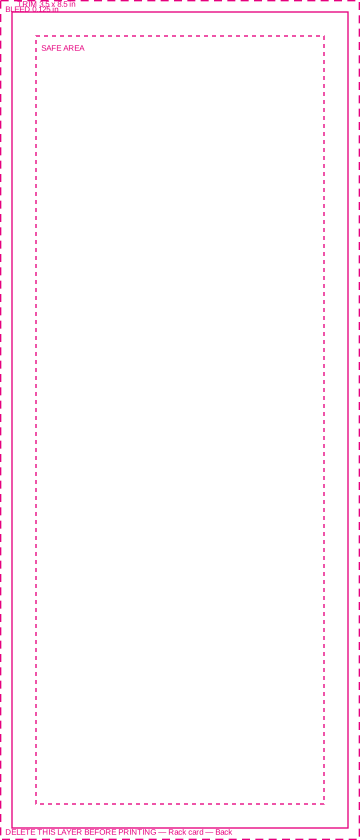
In a rack, only the top few inches are visible. Whatever has to be read from across the room belongs in the top third — the rest is for someone who has already picked it up.
Using the template
What to keep,
what to remove.
The guides are measurements, not decoration. Two of these rules are about not breaking the file, and two are about not printing the guides.
- Do not move the guides
- They are positioned to the exact trim, bleed, and safe dimensions. Moving one makes the file lie about its own size.
- Do not resize the document
- The page is already trim plus bleed. Scaling it scales the trim, and the piece comes back the wrong size.
- Do delete the guide layer before you export
- It is named GUIDES-DELETE-BEFORE-PRINTING in the SVG. Magenta lines are not artwork, and a guide left in prints.
- Do extend backgrounds past the trim
- All the way to the outer bleed edge. A background that stops at the trim line leaves a white sliver after cutting.
What opens it
- Adobe Illustrator
- Opens the SVG with the layers intact. The usual choice.
- Affinity Designer
- Opens the SVG and keeps the guide layer separate.
- Inkscape
- Free, and the layer names are written in its own format.
- CorelDRAW
- Imports the SVG. Check the document units are inches after import.
- Adobe InDesign
- Place the PDF as a guide on its own layer, then build the document to the same trim.
- Canva and similar
- Use the trim and bleed numbers to set up a custom size — these tools generally cannot open a layered SVG.
The SVG is the working file — its guides sit in one layer named
GUIDES-DELETE-BEFORE-PRINTING, so hiding or deleting that one layer
leaves a clean document. The PDF is a reference: its guides are
drawn on the page rather than in a toggleable layer, so if you build in the PDF you
have to remove them yourself.
Exporting and sending
- 01 Delete or hide the guide layer.
- 02 Check backgrounds still reach the bleed edge — removing guides sometimes reveals one that stopped at the trim.
- 03 Convert text to outlines, or send the font files alongside.
- 04 Export as PDF with bleed included. Keep vectors live rather than flattening to an image.
- 05 Name the file so a person can tell what it is — acme-business-card-front.pdf, not final_v3.pdf.
- 06 Send it with your project details so we can check it before anything is produced.
When to ask us instead
- The piece is going in the mail — postal requirements are governed separately and we will send the current specification.
- You want a size that is not on this list.
- The format is die-cut, folded, or finished in any way — the die or the finishing method is the template.
- You only have a logo from a website and nothing else.
- You are matching a colour to something you have printed before.
- You are not sure whether the design will survive the trim. That is a two-minute conversation and a cheap one.
None of these are a problem. They are the moments where two minutes now saves a reprint later — and we would much rather have the conversation before the file is built.
Start here
Where will these actually sit?
Tell us the rack or holder and we will tell you how much of the card is visible before you commit the layout.
- 1 Start your project
- 2 Tell us what you're creating
- 3 Receive your estimate
Prefer to talk? (217) 970-2300 · Mon–Fri, 8am–5pm